Perler Beads Guide, Part 1: Basics to Iron Your First Projects
A practical guide to Perler, Hama, Artkal, fuse beads, iron beads and similar heat-fused bead crafts, which are the same thing under different names. This part covers what you need and how to iron without ruining your piece. Part 2 covers making your own digital designs.
1. Terminology
These names may pop up when you’re invested in the craft:
- Perler Beads: especially common in the US
- Hama Beads: especially common in Europe/Germany
- Artkal Beads: popular for larger color ranges and pixel-art work
- Nabbi / Pyssla / fuse beads / melty beads / iron beads: other names/brands
The important distinction is size, not the brand name.
| Size | Approx. diameter | Best for |
|---|---|---|
| Mini | ~2.5 mm | Very detailed pixel art |
| Midi | ~5 mm | Best general-purpose size |
| Maxi | ~10 mm | Children / large simple designs |
For starting out, use 5 mm midi beads. Perler, Hama and Artkal midi systems are broadly compatible.
2. Basic Tools
Pegboards
Get clear interlocking square boards rather than only themed boards. Clear boards are particularly useful because you can put a printed pattern underneath and build directly over it.
A useful collection:
- Several small square boards
- 2 to 4 large interlocking square boards
- One small specialty board for quick projects
Tweezers
One of the best cheap upgrades. Useful for:
- Correcting individual beads
- Placing isolated beads
- Removing misplaced beads
- Working with Mini beads
- Fixing an almost-complete pattern without destroying it
Sorting containers
Use a bead organizer with removable compartments rather than one giant box. Even better: use small bowls or trays while working, then return leftovers to the main organizer.
Ironing paper
Use proper ironing paper or parchment-style paper. Never put the iron directly on the beads. Do not use wax paper.
Household iron
You do not need a special Perler iron. A normal household iron works.
- Steam: off
- Start around medium/cotton-ish heat
- Adjust according to the bead brand and your particular iron
3. The Biggest Ironing Tricks
This is where much of the quality difference comes from.
Don’t melt the beads into pancakes
The usual goal is to fuse the outside edges while keeping the centers of the beads visible:
○ ○ ○
○ ○ ○
○ ○ ○
Avoid completely flattening them:
██████
██████
██████
Over-ironing can remove the characteristic holes and distort the design.
Iron in circles
Use small circular movements rather than leaving the iron in one place. Cover the whole design evenly.
Watch through the paper
As the beads melt, they become more visible through the paper. Use this as your visual cue.
4. Make a Test Patch
Before ironing a large project, test your setup. Put a small group of beads on a spare board:
● ● ● ●
● ● ● ●
● ● ● ●
Test:
- Temperature
- Speed
- Pressure
- Approximate ironing time
- Behavior of your particular bead brand
This prevents ruining a large project.
5. Two-Sided Ironing
For durable pieces:
- Iron the first side while the design is on the pegboard.
- Let it cool.
- Remove it from the board.
- Flip it.
- Iron the other side.
A common starting point is roughly 10 to 20 seconds per side, but adjust according to the project and bead brand. Two-sided ironing produces a stronger object.
6. The Tape Method for Large Projects
For large designs, instead of:
beads → pegboard → iron directlyuse:
beads → pegboard → tape → flip → remove board → ironCover the completed design with suitable tape, turn it over, remove the pegboards, and fuse the back.
Why use it? Large designs can:
- Warp
- Damage pegboards
- Become difficult to remove
- Be awkward to iron
The tape method lets you handle the entire design as one sheet.
7. Flattening Large Pieces
Large pieces tend to warp. A useful method:
┌───────────────────┐
│ heavy flat object │
├───────────────────┤
│    bead artwork   │
├───────────────────┤
│     flat table    │
└───────────────────┘
Iron the piece, let it cool flat, and keep it under a flat weight while cooling. The important part is letting the piece cool while flat. Do not pick up a large warm piece and expect it to remain flat.
8. Pressure Matters
Do not push the iron down aggressively. Too much pressure can:
- Flatten beads
- Close the holes
- Distort the design
- Push edge beads sideways
Use firm but controlled pressure.
9. Don’t Iron Everything Equally
Dense areas contain many neighboring beads:
████████████████
████████████████
An isolated bead:
●is more fragile. Isolated beads may need more careful handling because surrounding beads provide structural support.
10. Advanced Structural Techniques
Fuse beads can be used for much more than flat pixel pictures.
- Flat art: sprites, portraits, logos, illustrations
- Keychains: design a suitable attachment point or use a connector after fusing
- Magnets: glue a magnet onto the back
- Coasters: excellent beginner projects
- Jewelry: especially suitable for Mini beads
- 3D objects: build separate panels and connect them
      ┌─────┐
      │     │
┌─────┼─────┼─────┐
│     │     │     │
└─────┼─────┼─────┘
      │     │
└─────┘- Pixel sculptures: animals, houses, furniture, food, characters
- Functional objects: boxes, baskets, pencil holders, lampshades, frames
For these, avoid over-ironing because the holes and interlocking structure can be part of the construction.
Next up: Part 2, get your own digital design.
And the most important thing: have fun creating!
Werbung / Ad: links marked * are affiliate links. I may earn a small commission at no cost to you.
 AliExpress
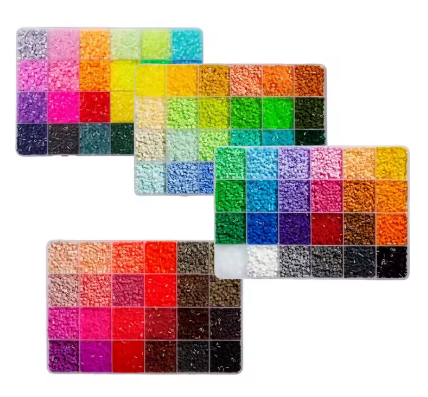
Color sets in organized box *
Most basic starter place if you haven't got any, or if you want to refill your stash. A bit of quantity over quality, but still a very good buy.
visit →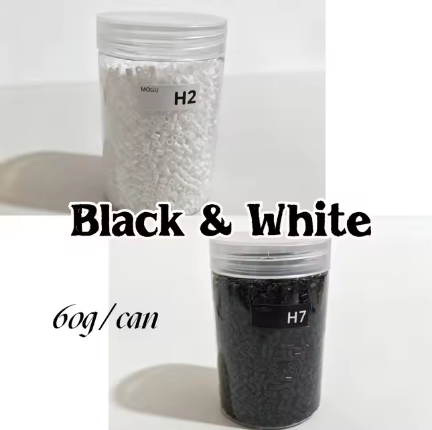 AliExpress
Black, white or clear beads *
Refill of the most often used colors.
visit →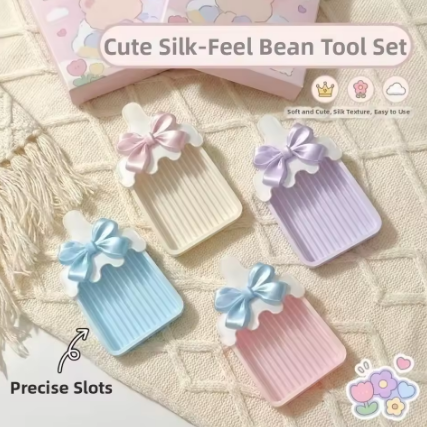 AliExpress
Extra cute tool kit *
Pen, spoon and tray, not special but cute.
visit →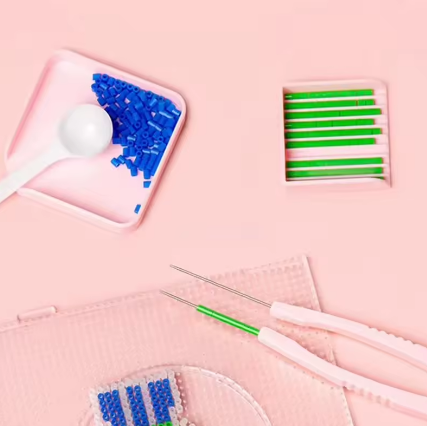 AliExpress
Standard tool kit *
Pen and tray set, basic and not ugly.
visit →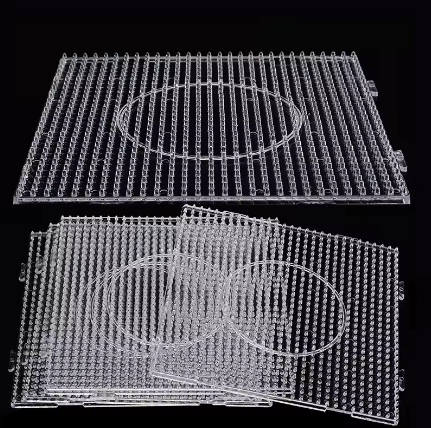 AliExpress
Square pegboard *
Please pay attention to the option: board for 2.6mm or 5mm beads.
visit →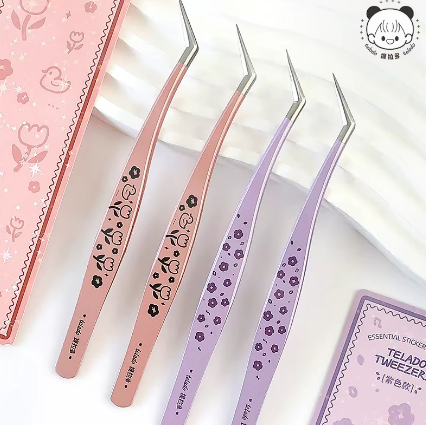 AliExpress
Pointed angled tweezer *
Useful help for placing single beads, fixing up works,...
visit →